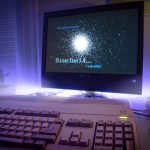
Operating within certain utilities in Workbench can have the feeling of moving a soccer ball across a postage stamp – let’s be honest, 320 x 200 isn’t the most productive environment. And in Interlaced mode, you might as well rub sand paper on your eye balls – the flickering made this screen mode usable after five minutes.
Added to that fact, the 1084 CRT is not getting any younger. In the interest of preserving my Miggy, I thought it time to upgrade and take advantage of the capabilities of the Indivision ECS Scan Doubler and Flicker Fixer.
Installing the board isn’t for the faint of heart and there are other options – PAL users in the UK are lucky enough to have SCART and if you can find an old LCD running at 15Hz, you are, well, lucky. In my case, I am installing the Indivision board on a Rev 6.2 A2000 machine.
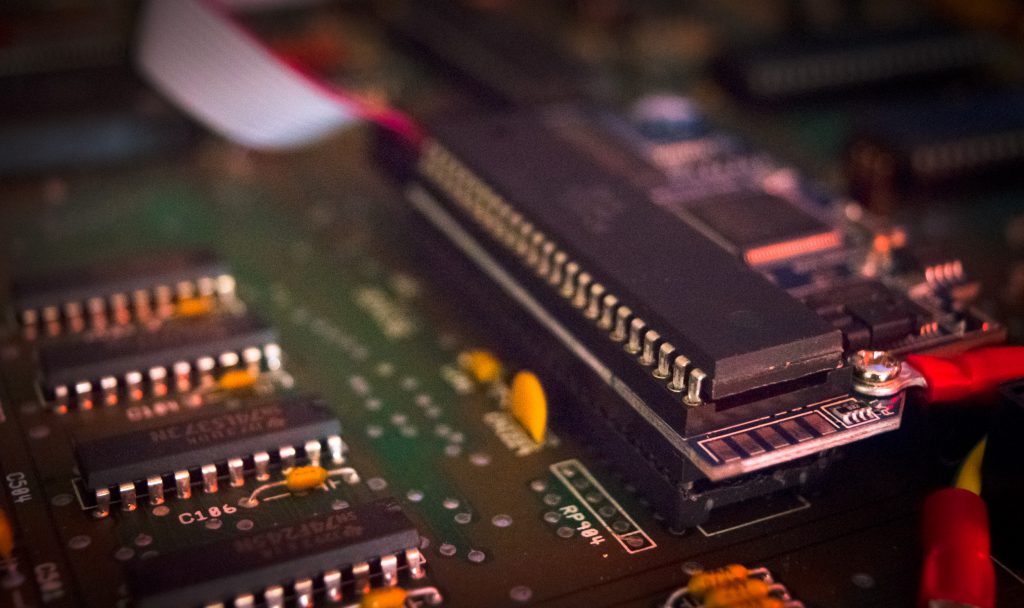
The board sits on top of the Denise socket and Denise slots into the Indivision board, the odd shape of the card makes it compatible with most OCS/ECS machines. Given that the Denise chip (Denise is one of the Holy Trinity: Paula, Angus and Denise. It controls the video output for the Amiga) has likely sat snug and peacefully in this fragile socket for about 28 years, it won’t be persuaded to leave it’s socket easily. The sound it makes as you gently rock the chip out with a flat head screw driver is the equivalent of a room full of Mandrakes.
Twice before I’ve removed chips from the motherboard; first the 68000 to clean leaked battery damage and in the other instance: the ROM chip was replaced to upgrade from Kickstart 1.3 to 3.1. Unlike the other times, pulling the Denise chip had me in a cold sweat!
To make matters more interesting, my machine is installed with a GVP Combo board, removing it isn’t really an option, the machine’s case and frame is practically formed around it. The Indivision board has a ribbon cable of 12” in length, it’s not the most generous of cabling. To reach an open external backplate near the Z2’s, I had to thread the VGA cable under the GVP and around a number of capacitors.
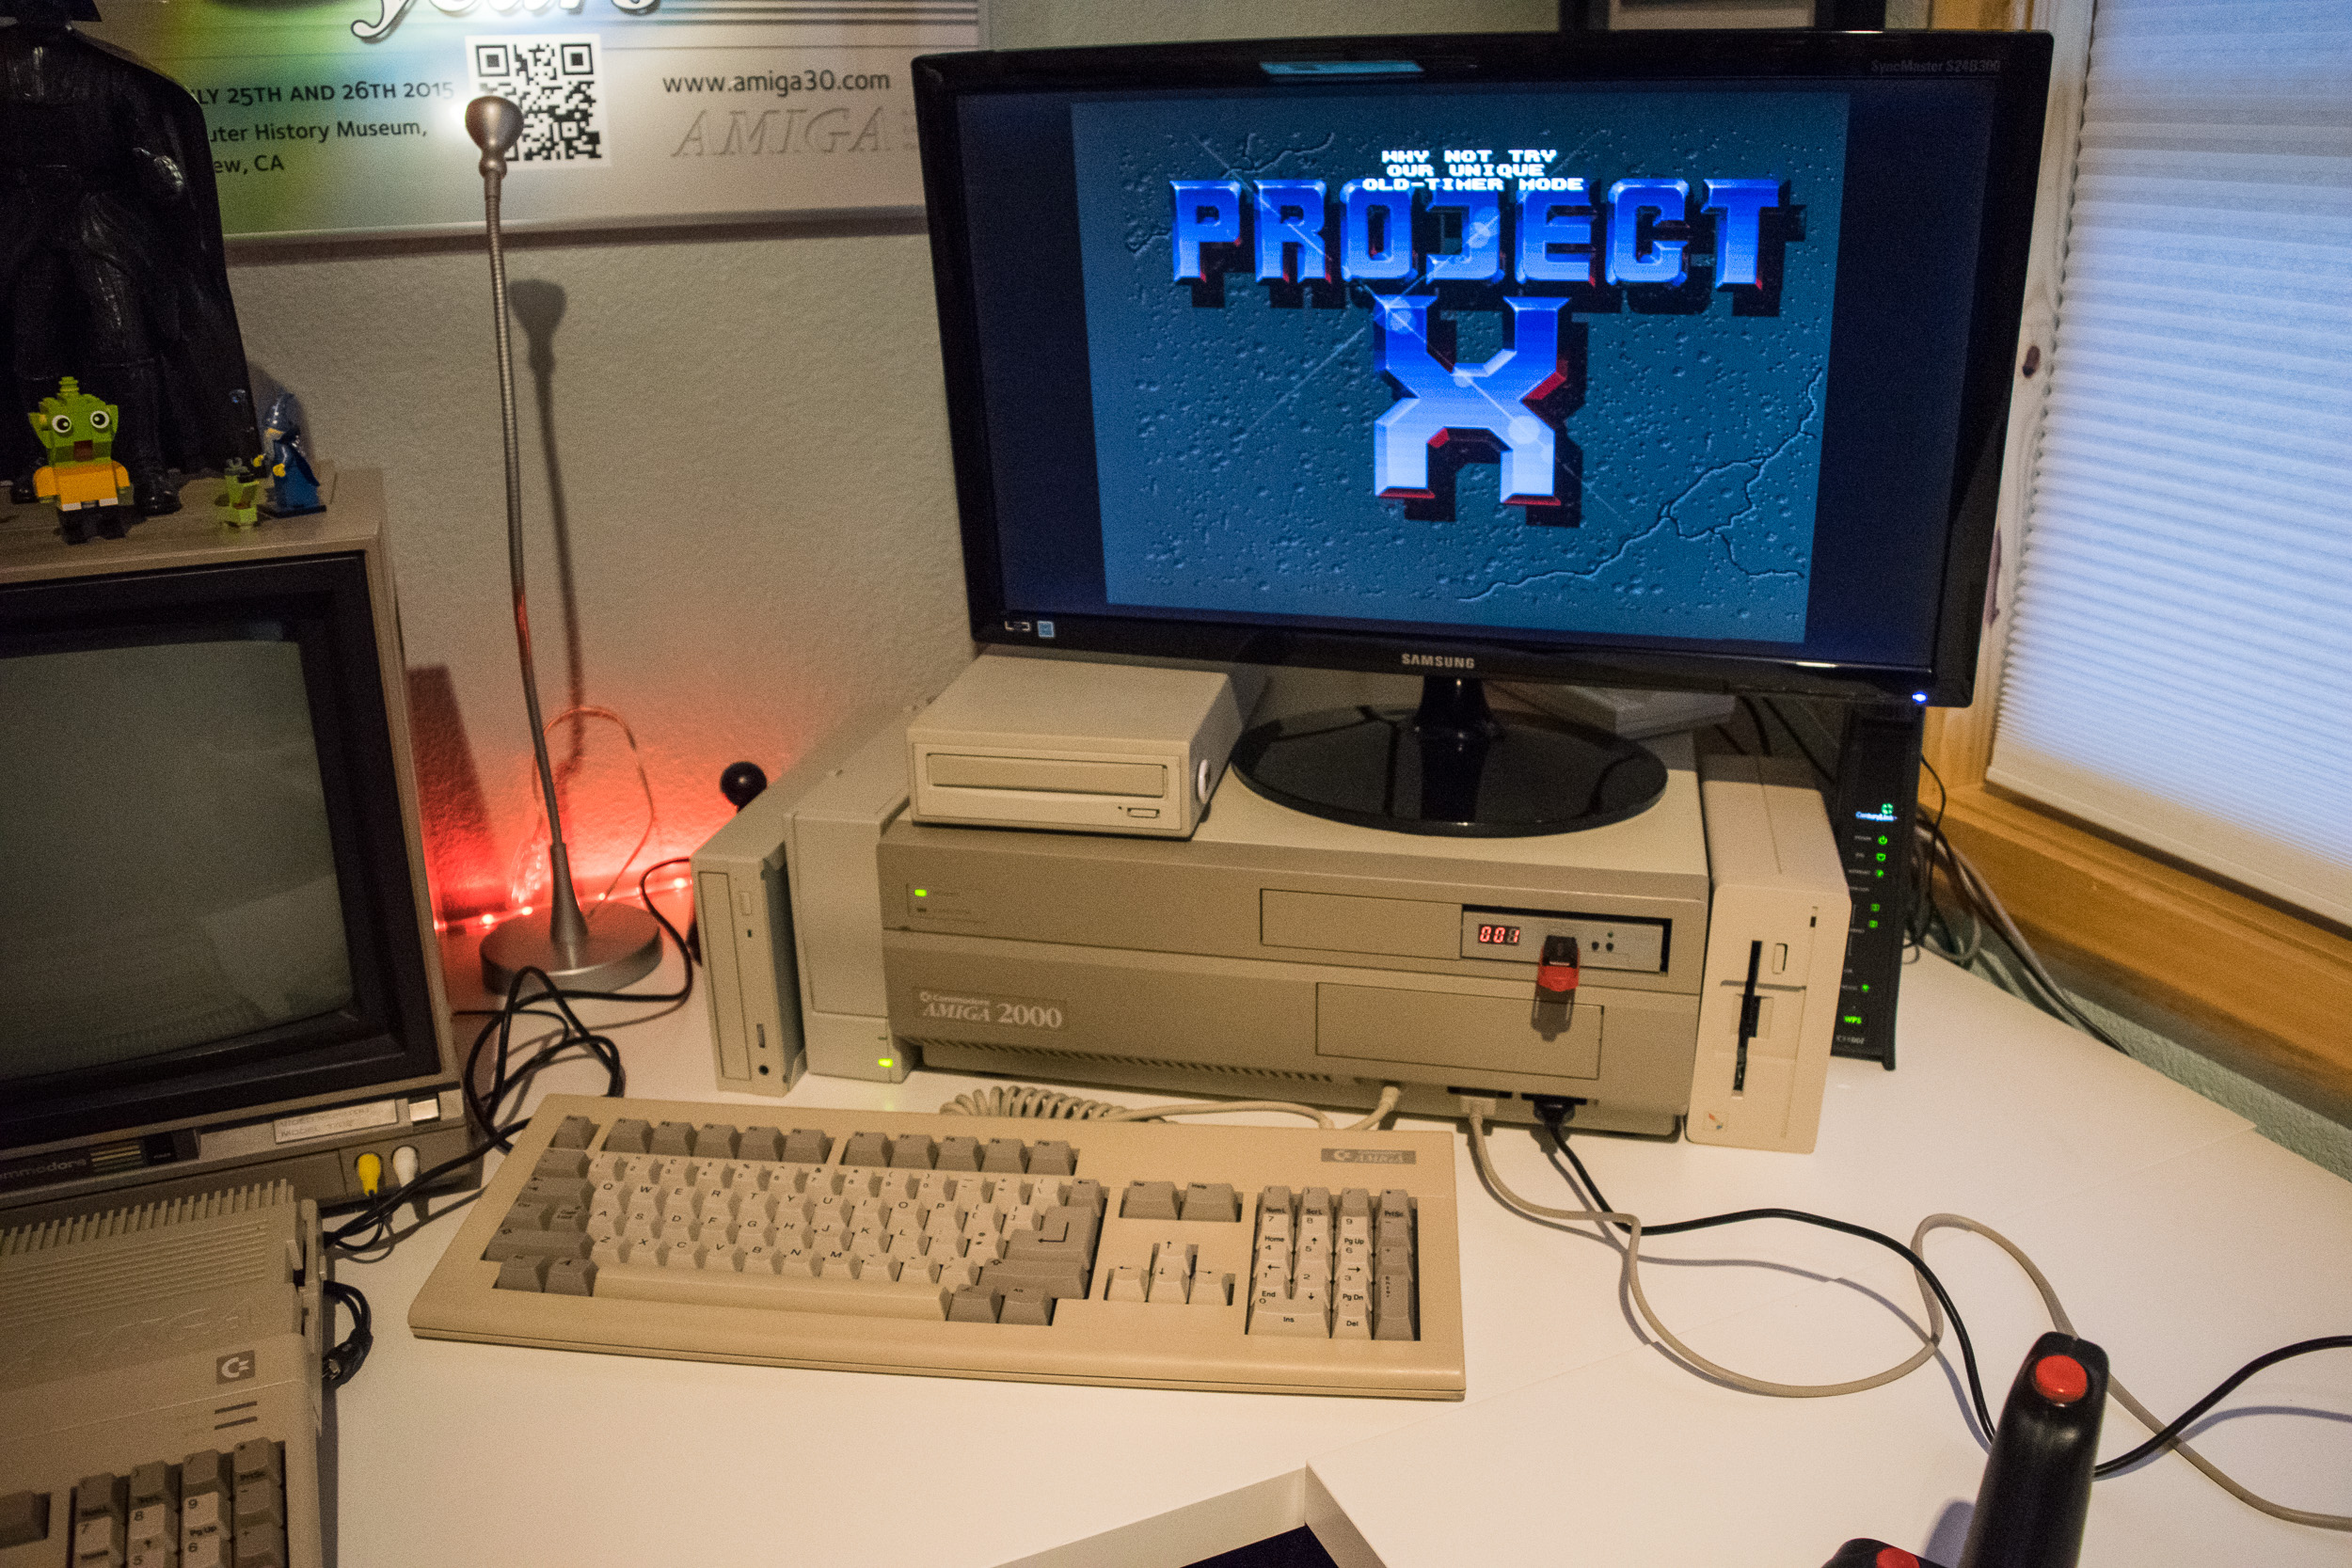
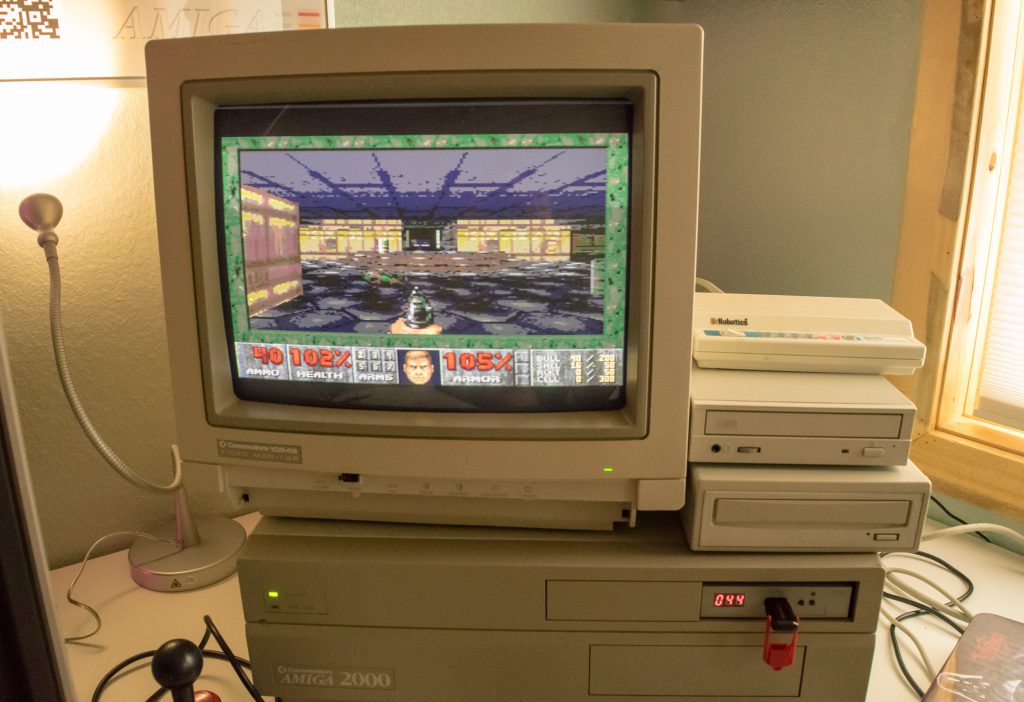
The board pretty much works out of the box, for fining tuning, Indivision have their own utility for making adjustments and FPGA flashing, that’s available at http://wiki.icomp.de/wiki/Indivision_ECS. Most of my tweaking took place in Workbench Prefs; under Screen Mode and Overscan. Ultimately, I went with PAL HiRes Interlaced (without the screen flicker I might add) with 16 colors. This translates to a resolution of 752 x 576 pixels, pretty sick for a nearly 30 year old piece of hardware.
The ultimate test was a high frame per second action game, Project X. The display performed perfectly, crisp pixels and vivid colors. My favorite genre of games, shoot ‘em ups – have taken on a new lease of life on my favorite hardware.
For a more detailed installation guide, head on over to the Amigos Podcast website.


The GVP can be removed, but it is an awkward fit. You have to remove the 2 screws on the back, pull the card up until the DB25 connector is touching the top of the opening in the back panel, then you will notice that GVP left the bottom corner of the card at the amiga-front side cut off, this allows you to tip that side of the card up and out, then it will be free to remove. Installation requires you do this in exact reversal.
Check here for images as an example and you will see that 1 of the 4 corners is cut for this reason: http://amiga.resource.cx/exp/gforce2030