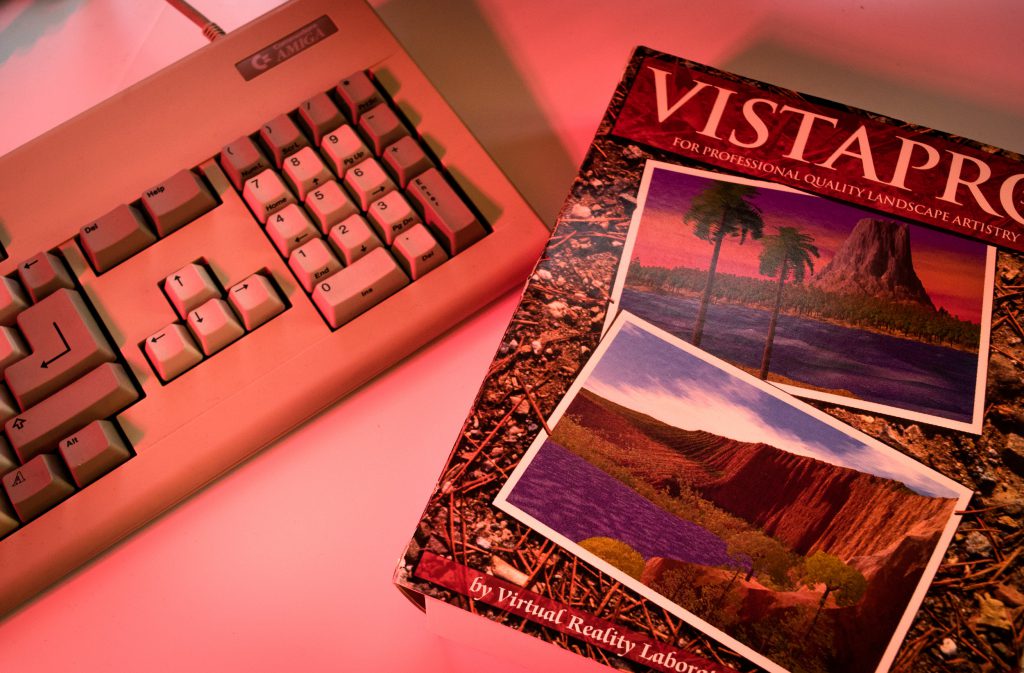
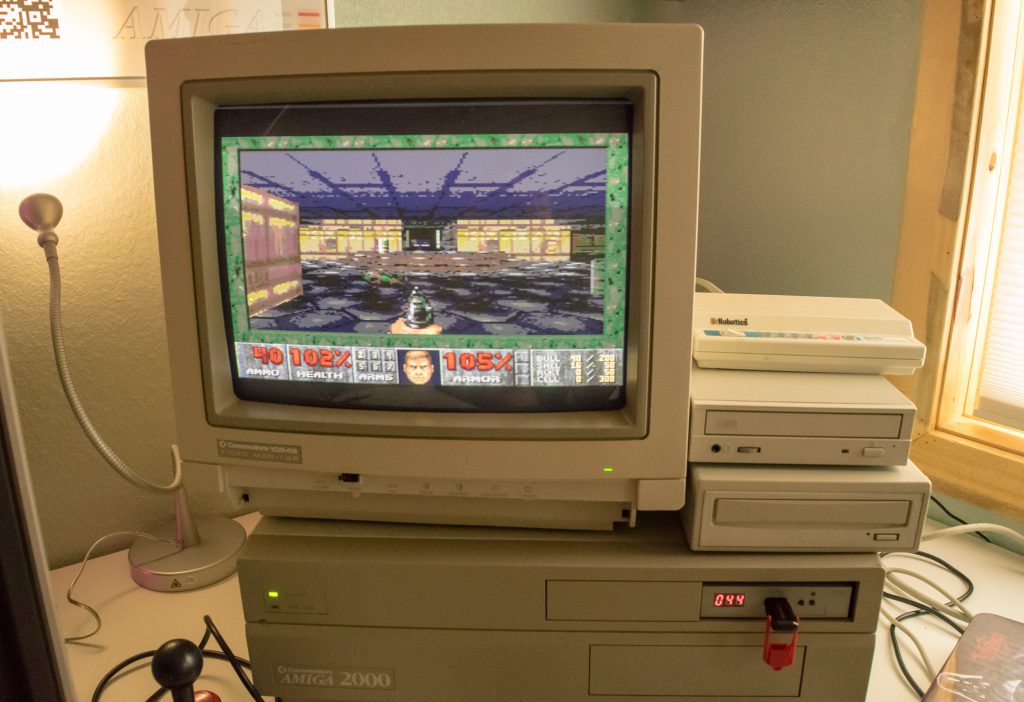
Back in a time, long before the Oculus Rift, engineers and artists saw a world of deeper human – machine interaction. The Amiga was at the forefront of this vision, both in the video game arcades and in the home/office. This article will talk about the later scenario and the software that produced amazing new worlds, that I have a long history with.
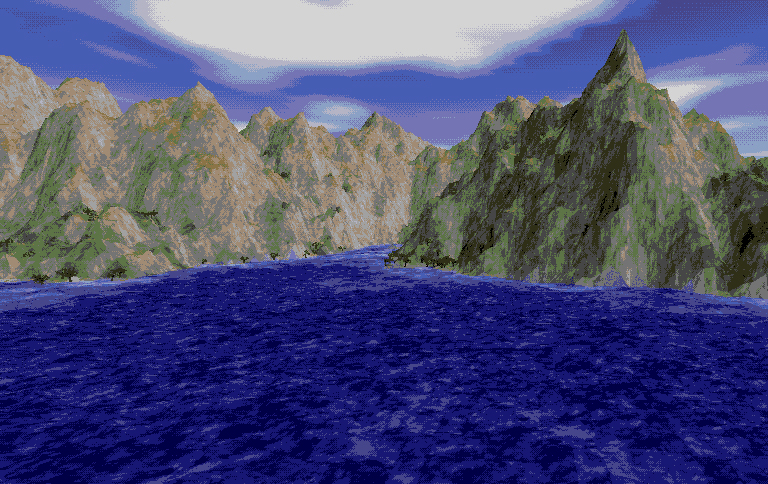
Vista & VistaPro has made it’s way into the hands of Amiga owners through many releases and mediums. The first free public release was on the cover disk of Amiga Format, issue 33 of April 1992, this was my first tasting of the application. Later into the 90’s the full version of VistaPro 3.0 was included on the cover CD of CU Amiga in September 1997. Luckily enough I got my hands on a second hand version of the full package (including Terraform and Makepath) around 1993 – 94.
Despite the massive system requirements – 4 to 8 meg of fast RAM and at least an ‘020, I was able to run the application, in a limited sense, on a 2mb A500+. I recall spending evenings building and configuring scenes, starting the render of an animation sequence before school and coming home in the evening and finding it still running, and I was only producing 10 frames!
With the ultra slow rendering speeds, getting to know the user interface through trial and error was a laborious task. Without the full, documented version that I later purchased, using the complex interface was almost impossible. Features like complimentary tools that influenced the out come seemed confusing, and where logic would dictate that a higher number would produce a larger result, the opposite often proved true.
Even after I received VP 3.0, I remember calling Virtual Reality Labs inc, internationally, to try and get help. It must have been the most comical call the woman on the other end of the phone had received, an english sounding kid, perplexed as to how to use the software.
Nonetheless, an animation was produced and in combination with AutoDesk Animator on the PC at school, I was able to produce the first computer animation submitted as course work in the East Midlands of the UK.
Through my contemporary experiments and retro VR journey’s, I’ve complied a list of “ahh-haa’s”, that I’ll send back to my self… as soon as I have the Quantum Flux Capacitor working again.
Initialization Settings
- Under the Projects menu item, select your canvas before you start building your world, otherwise you’ll loose your work.
- To be sure you don’t crash VP midway through the project, also set your graphics output, and as much we all hated the flicker of the interlaced screens, this setting will give more favorable results when exporting to modern systems, i.e. Photoshop.
- EHB (Extra Half Bright) and HAM modes look pretty on the Amiga but they translate to black when exporting to Photoshop.
Control Panel Options
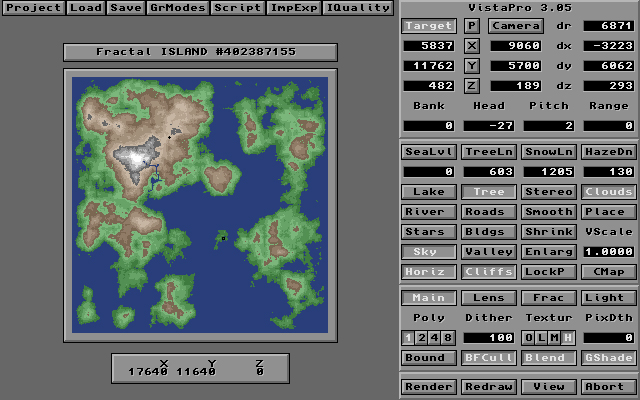
Camera and landscape detail settings are contained with the top two panels of the right hand control panels, here are some helpful call outs:
- Between the camera target and camera x, y, z fields are 4 corresponding buttons: x, y, z and p. These will lock the selected value while allowing free range of the others. P will give you a handy wireframe camera view.
- The rather intimidating tree sub screen is more logical than it looks. The 1 – 4 buttons in each tree type pane represent the elevations on your landscape. For example, you could select Oaks at the lower levels by using 1 & 2 and then Pines at the higher elevations by using 3 & 4
- Under the Clouds sub screen, if you want the clouds to be thicker, select the “1” button, not 2, 4 or 8. These buttons act as divisors, not multipliers.
Environment Settings
The third and last panel consists of 4 tab screens, these windows will control Rendering, Lens, Fractal Generation and Light.
- When creating a new random world under Frac, FrDim controls the potential height of your peaks and the previously discussed divisors will dictate the ruggedness of the landscape.
- Declin under the Light tab controls the vertical position of the sun in the sky, the lower the number, the closer to the horizon the sun will be.
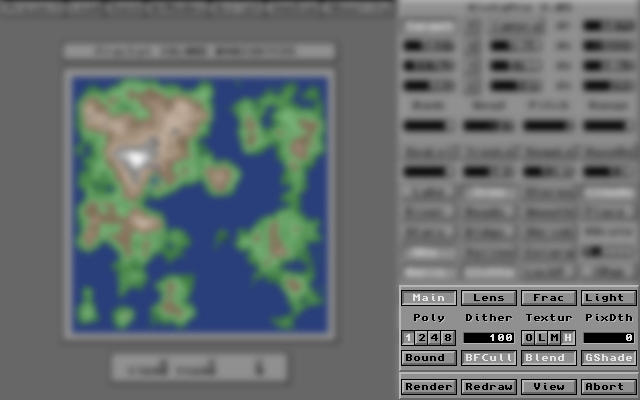
- When rendering a draft image, switch all settings to lowest position or off.
- Poly should be 8, for the biggest, chunkiest polygons
- Blend and Gshade should be off
- Tex
tur set to O for off - and no dithering On an ‘030, a proof image takes about 5 – 10 sec. Obviously, to produce your final master piece, switch everything up to the highest setting. But be careful with gShade, this can make your scene look more like a impressionist painting rather than a 16bit VR world, but whatever floats your boat.
For a more detailed guide to get you up and running in VistaPro, head on over to my other article on the Amigos Podcast website.


Leave a Reply